How to Capture HTML5 Form Inputs To ClearDB MySQL Database on Heroku Using PHP and JQuery AJAX


This article covers the following:
Deploying your project to heroku app using Github
Installing ClearDB MySQL add-on in your project
Creating a table with MySQL Workbench
Use of PHP and JQuery AJAX calls
Note: The operating system used for the article is Ubuntu 18.04.
The app deployed to Heroku is just a simple HTML5 form:
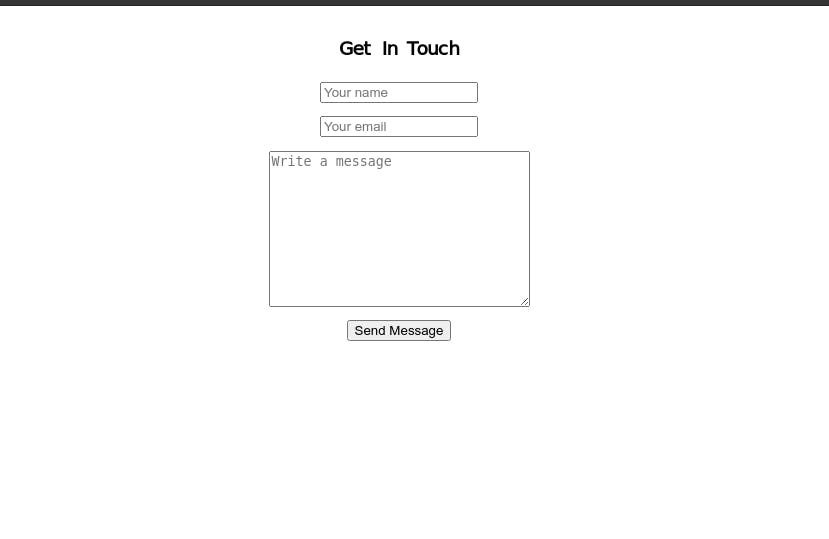
This is the HTML code below:
HTML

    <!DOCTYPE html>
    <html lang="en">
        <head>
            <meta charset="UTF-8">
            <meta name="viewport" content="width=device-width, initial-scale=1.0">
            <link rel="stylesheet" href="index.css">
            <title>Html Form Demo</title>
        </head>
        <body>
             <div class="container">
                 <h3>Get In Touch</h3>
                 <form action="form.php" method="POST" id="form">
                     <input type="text" id="name" name="name" placeholder="Your name">

                     <input type="email" id="email" name="email" placeholder="Your email"
                     required>

                     <textarea name="message" id="message" cols="30" rows="10"
                     placeholder="Write a message" required></textarea>

                     <button name="submit">Send Message</button>
                </form>
             </div>

             <!-- script tags -->
             <script src="https://code.jquery.com/jquery-3.5.1.min.js" integrity="sha256-
             9/aliU8dGd2tb6OSsuzixeV4y/faTqgFtohetphbbj0="
             crossorigin="anonymous">
             </script>

             <script src="form.js" type="text/javascript">
        </body>
    </html>
Deploying Project To Heroku App
Heroku simply put, is an easy-to-use container-based cloud Platform as a Service (PaaS) that developers can use to deploy, manage, and scale modern apps. To read more about it, check here.
There are bunch of ways to deploy your project apps to Heroku like; deploying using Docker, Heroku Review Apps, Integration with Git e.t.c
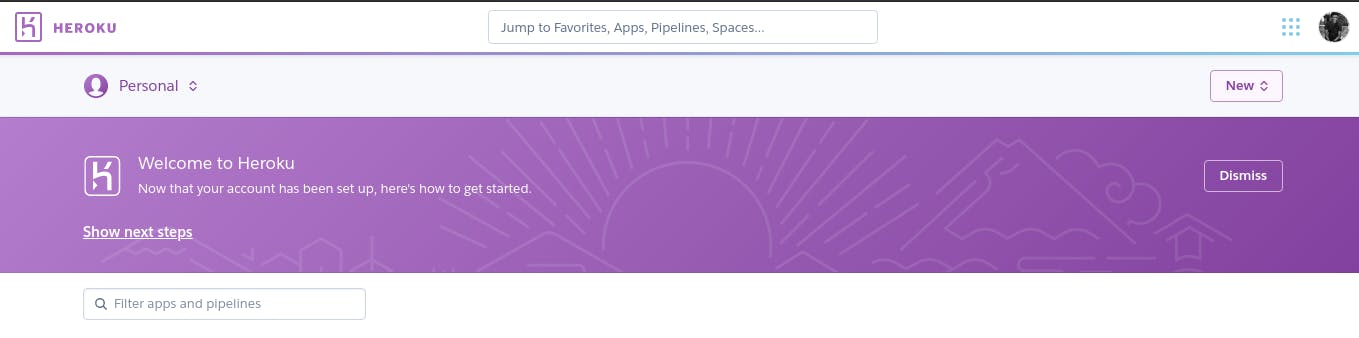
For the purpose of this article, we would be using the integration with existing Github repository. First, you head over to Heroku site and login or signup (if you have not).
After you login:
Click on the 'New' button at the top-right-corner of the page.
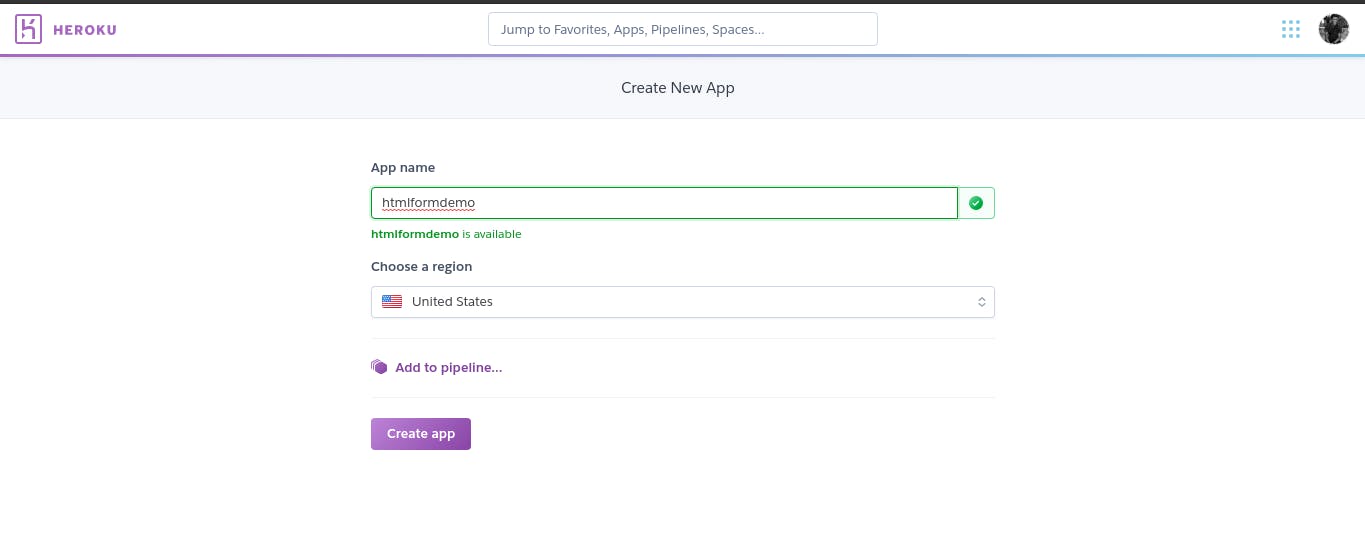
Type the name of the app you want to create in the option given and click 'create-app' .
Under the deployment method section, choose the 'Github' option and select the repository name you want to integrate your app with.
Search for the appropriate repository and connect.
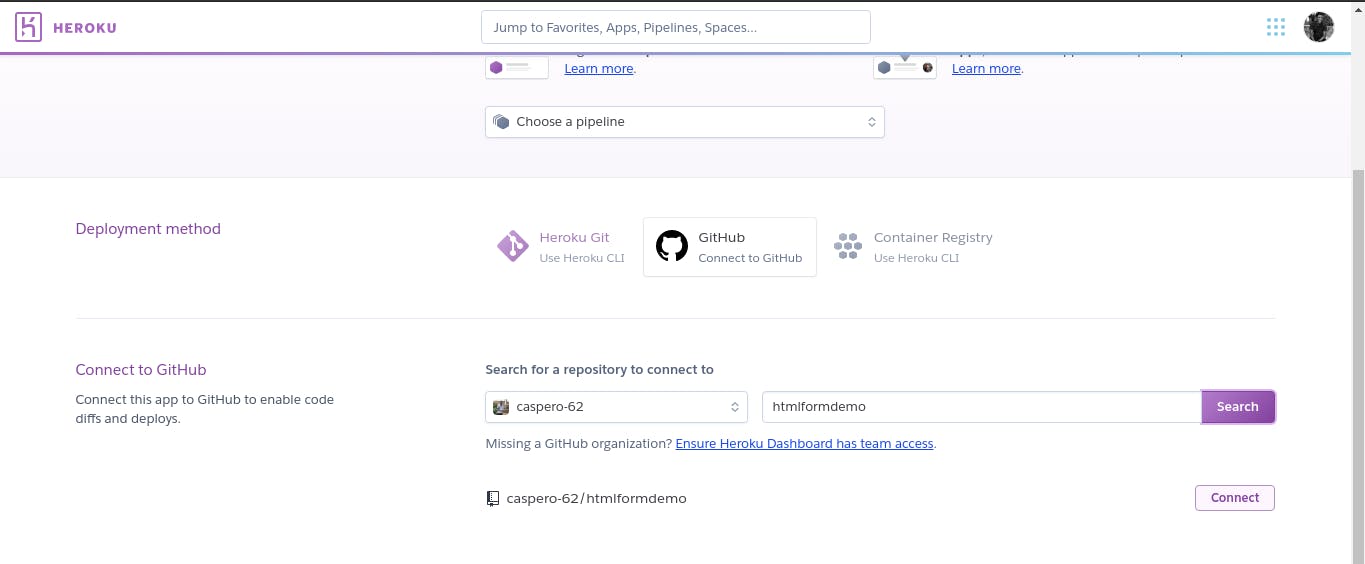
You can select 'Enable Automatic Deploy' if you want.
Finally under the 'manual deploy' section, Click on Deploy branch.
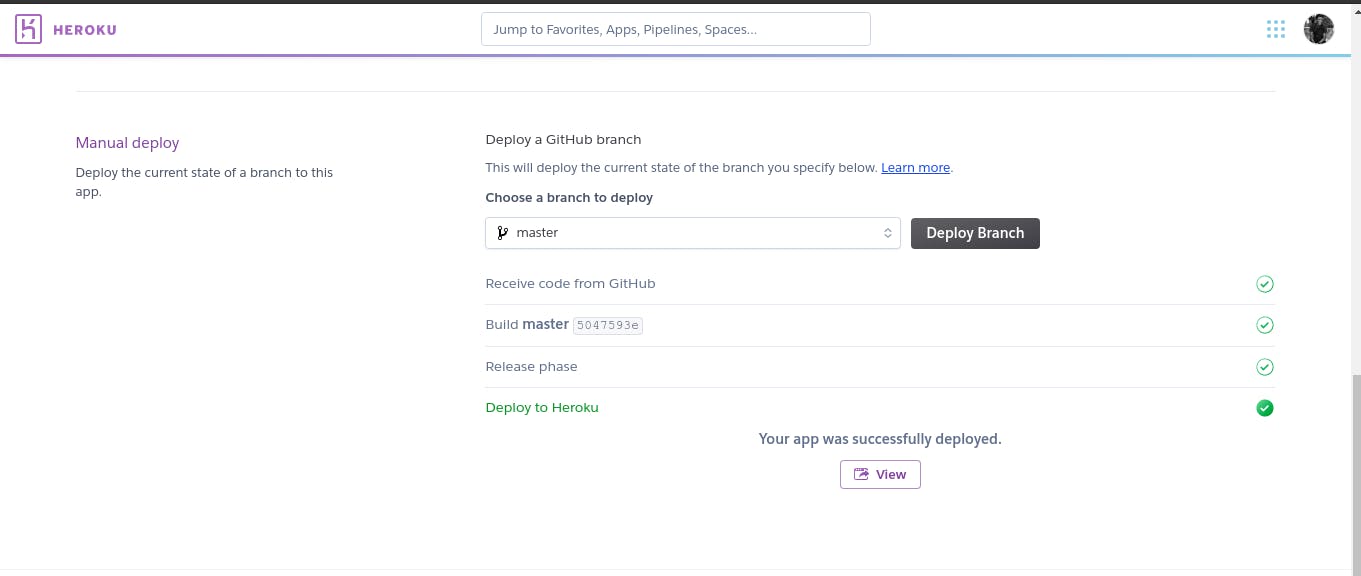
And thats it! You have your app deployed in heroku.
Note: Deploying on Heroku requires you having a
composer.jsonfile in your project. Even if you your project doesen't require it, heroku does. So you add a composer.json file with curly braces{}in it. Commit changes to your Github repository and it should deploy successfully.
You could click the view button to see your project live.
Installing ClearDB add-on In Your Project
To install cleardb add-on into your project:
click on the menu bar at the top-right-corner beside your profile picture.
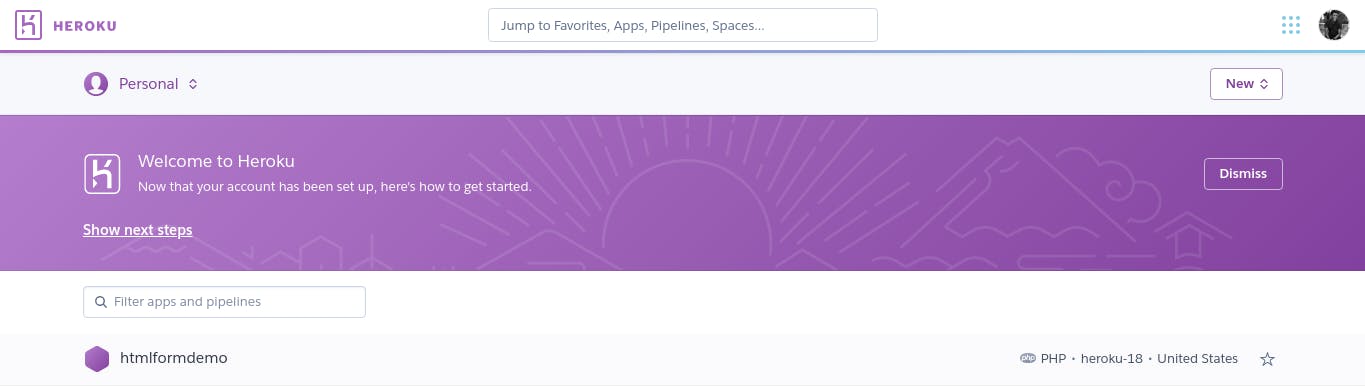
select the dashboard from the dropdown.
You should then see the list of your apps (only the app you just deployed, if this is your first time).
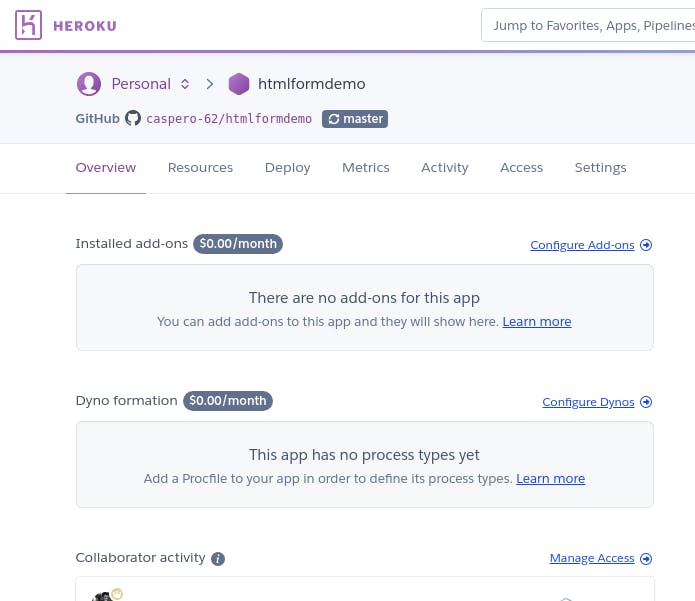
Select configure add-ons and click on the Find more add-ons.
Scroll through the page and select ClearDB MySQL.
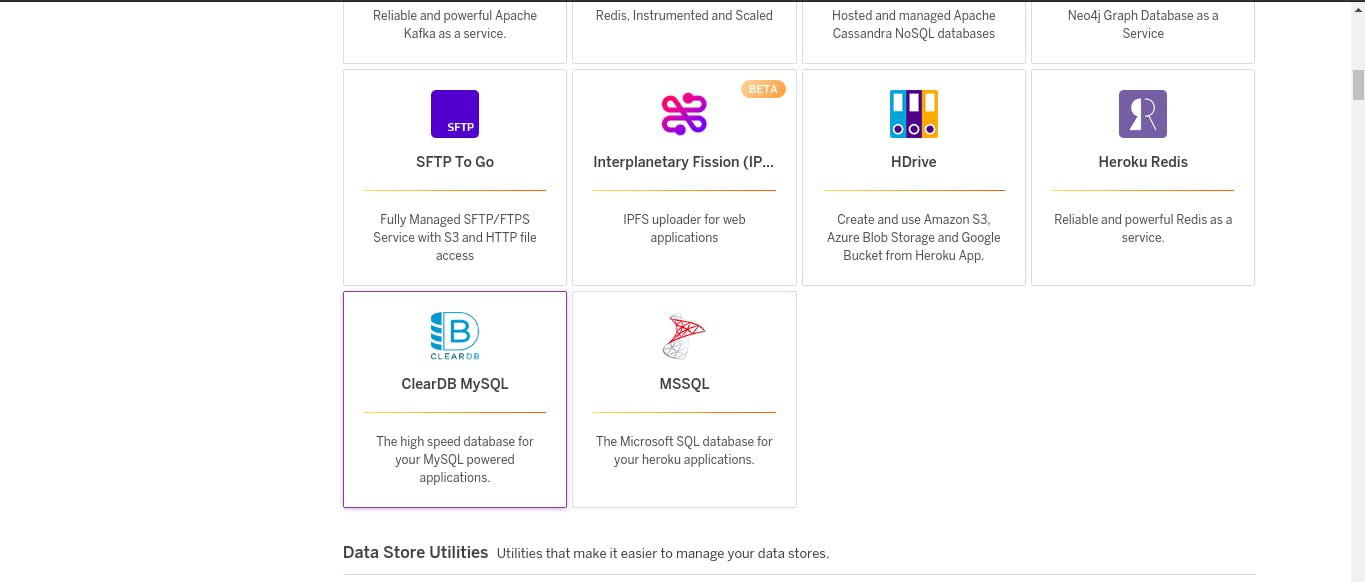
Choose the plan suitable for you and install ClearDB.
Viola! You have the Database add-on installed.
Note: If you choose the Ignite-Free plan and you are prompted to add your card details, just do it. It dosen't have any effect on your account :)
Creating a table with MySQL Workbench
MySQL Workbench is a unified visual tool for database architects, developers, and DBAs. It usually provides utilities like data modeling, SQL development, and comprehensive administration tools for server configuration, user administration, backup, and much more. It is available on Windows, Linux and Mac OS X operating systems.
If you don't have this installed already, you can download MySQL Workbench on Linux using either the Terminal or Ubuntu Software Store.
Using Terminal
Note: Before using the terminal to install, make sure you are logged in as a user with sudo privileges.
Using the command line to install MySQL Workbench, run the following commands:
$ sudo apt update
$ sudo apt install mysql-workbench
The following commands update packages index and install MySQL Workbench.
After it must have been downloaded, you can
$ snap connect mysql-workbench-community:password-manager-service
$ snap connect mysql-workbench-community:ssh-keys
What this does is to allow you store passwords in MySQL Workbench keychain in order to connect to the database of your choice (in our case, ClearDB).
And that's it you're done installing MySQL Workbench. Go on and start the application.
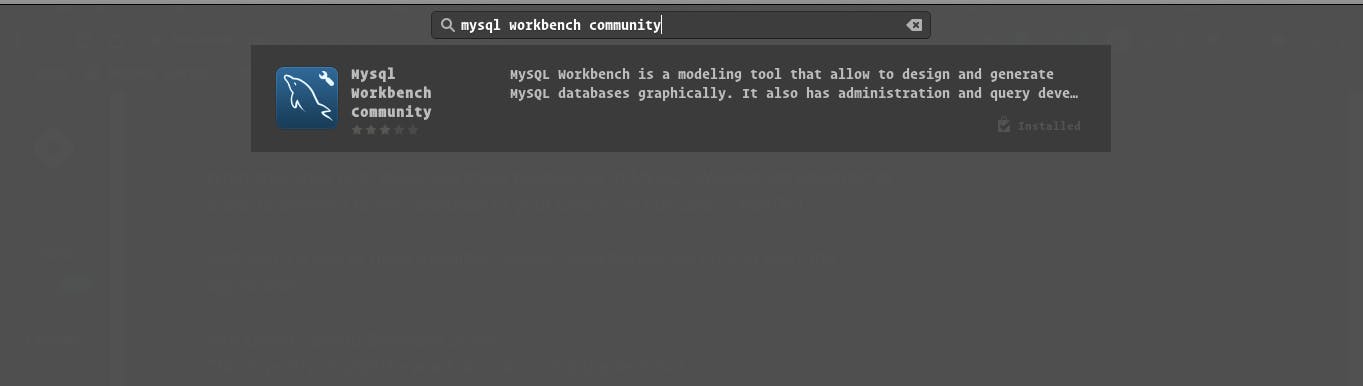
Using Ubuntu Software Store
This is pretty straightforward also like using the terminal.
Open your Ubuntu Software, search for 'MySQL Workbench Community', click and install.
After installation, you still need to run the commands that allows you store passwords. That's it! We can start to create a table on our database finally.
Getting Database Credentials
Before we start with creating the table and all, we start with getting the username, password and hostname of the database.
To get these values, do the following:
Go back to your heroku app.
Click on the Reveal Config Vars button to see various config variables that you have.
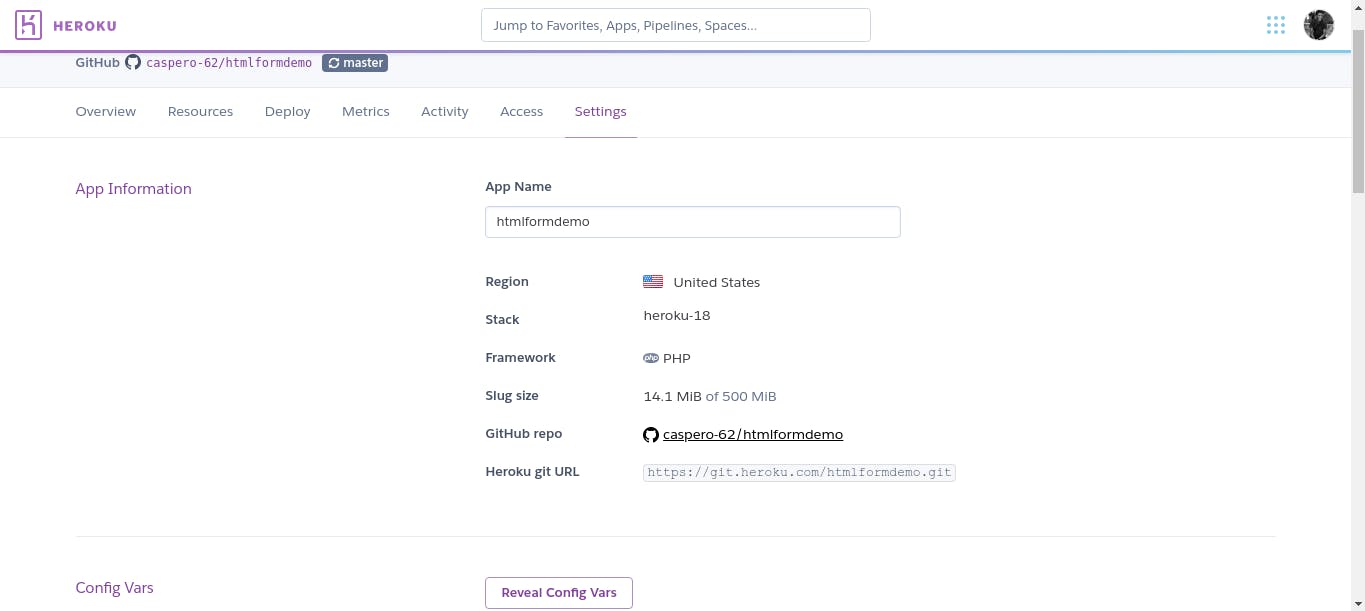
copy the url beside the ClearDB_DATABASE_URL and separate them in this format:
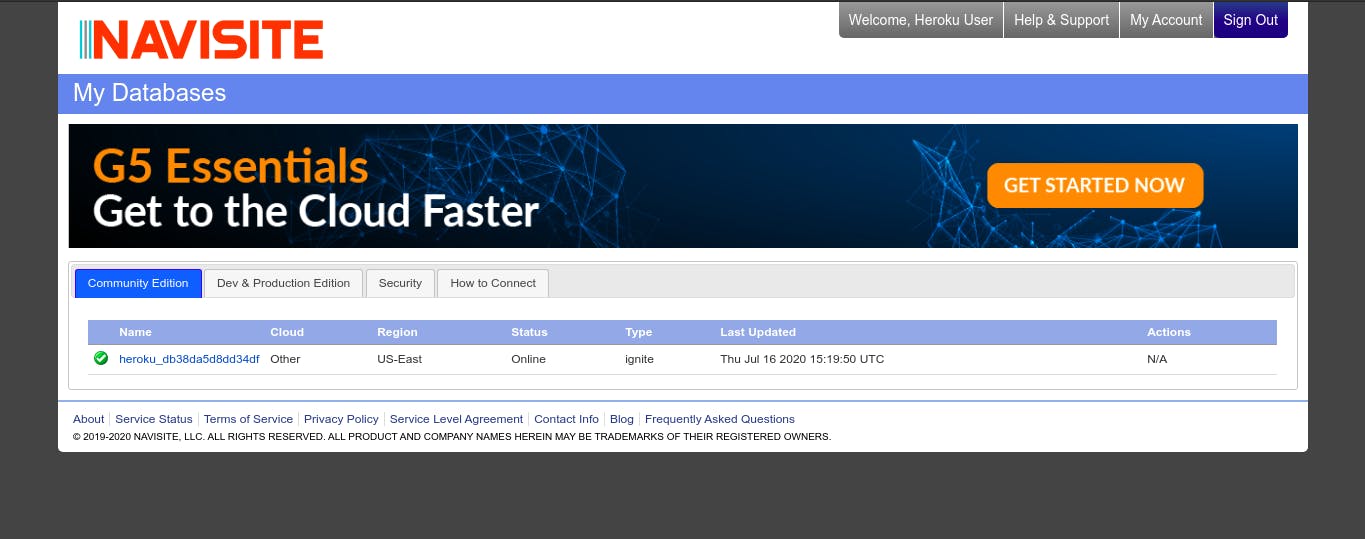
 mysql://bad816b66b485e:7f49ef11@us-cdbr-east-02.cleardb.com/heroku_db38da5d8dd34df?reconnect=true // full url.

 bad816b66b485e // username

 7f49ef11 // password

 us-cdbr-east-02.cleardb.com // hostname
We would also need our database name and to get that, you still go to your app overview and click on ClearDB MySQL. You see the table below and the name column shows your database name.
Connecting and Creating Table In The Database
To connect to the database, take the following steps:
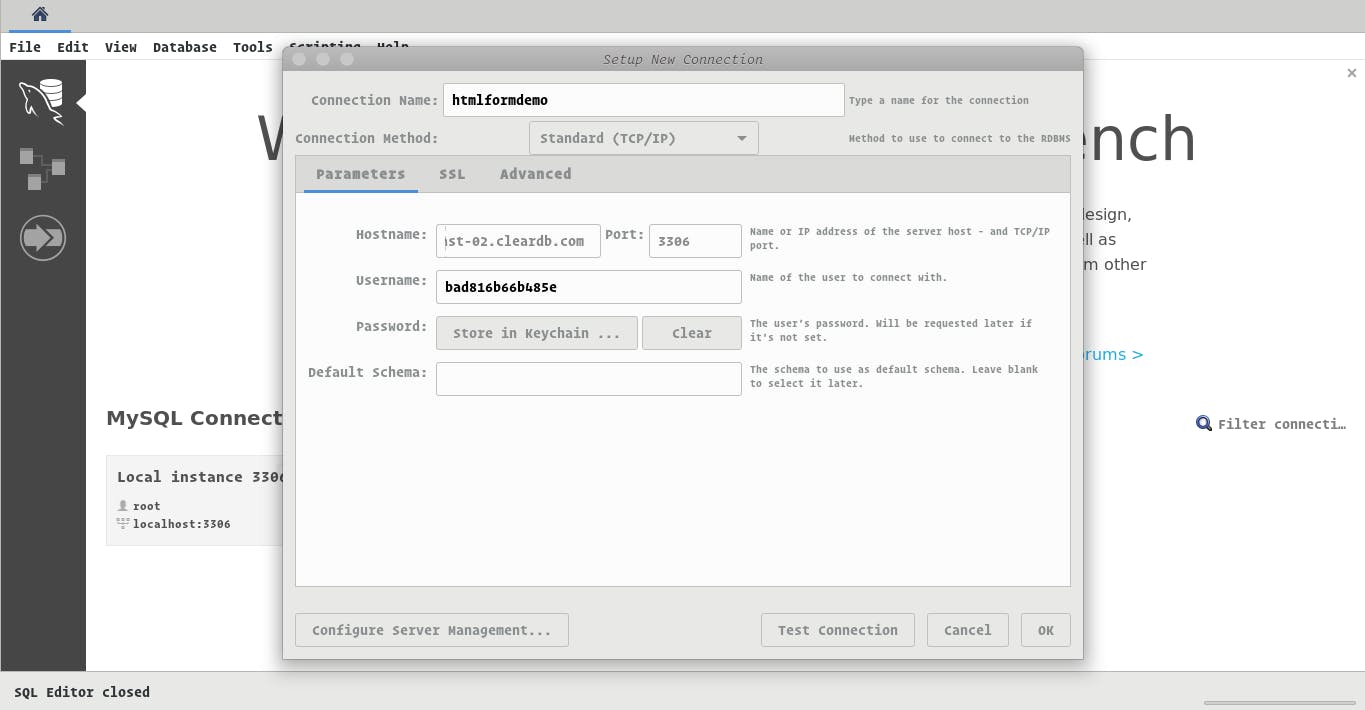
Open up MySQL Workbench and click
+icon beside the MySQL Connections (to add new database connections).
Add the necessary details that we have gotten from the URL and test the connection. If successful, click the ok button and you should see the database in your MySQL Workbench home.
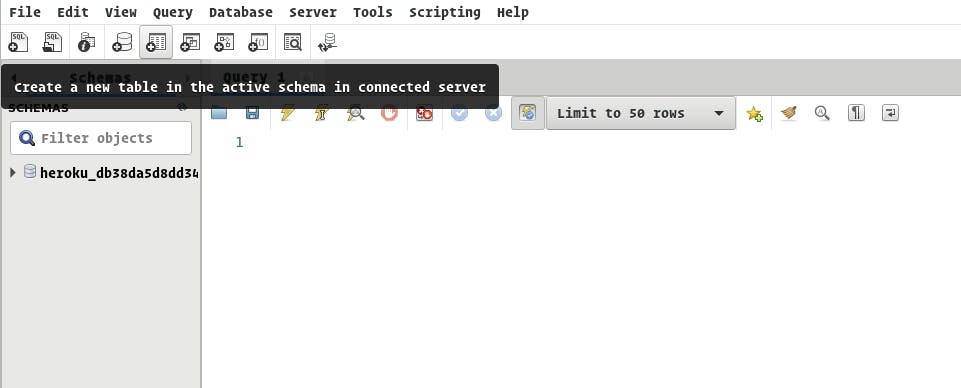
Click on the database connection you just set and select schema.
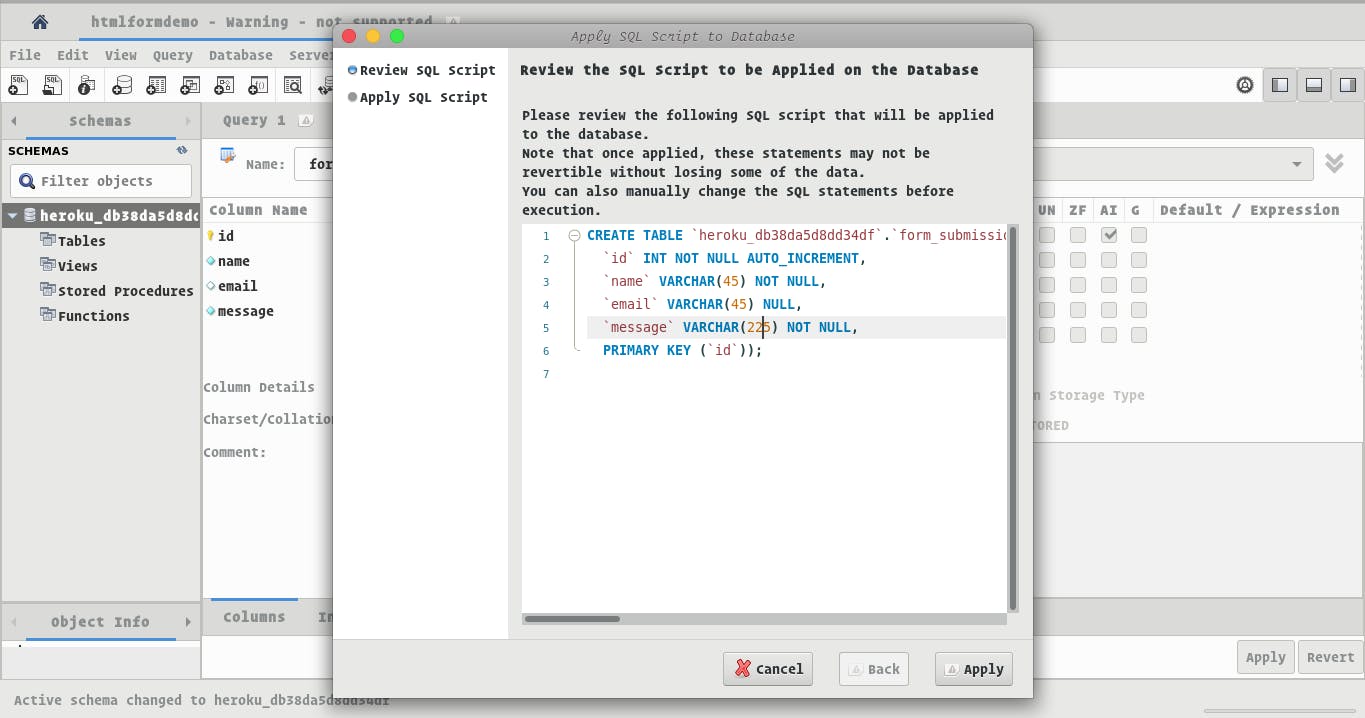
Click on create new table
Add the various input fields to be stored (name, email, and message in our case), and tick the necessary attributes for each field.
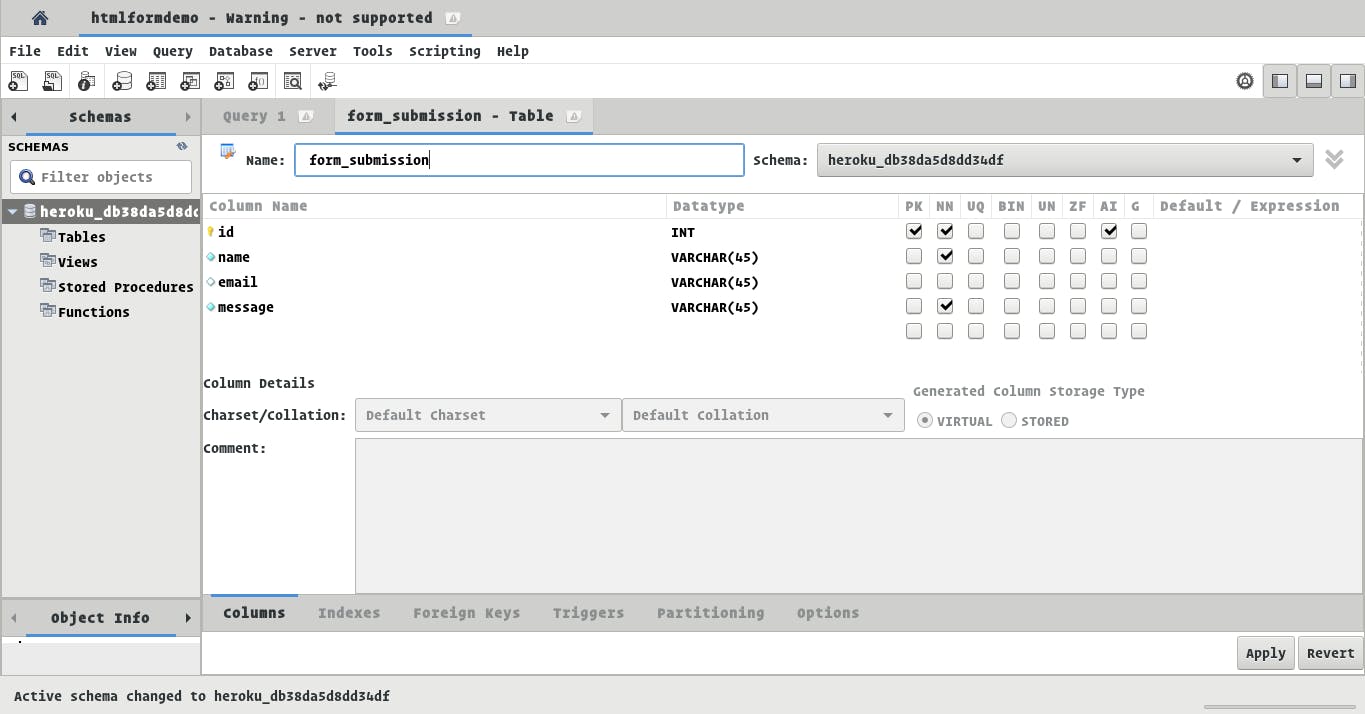
Click Apply and your table should be set.
Use of PHP and JQuery AJAX calls
Finally, it is time to write our PHP script and jQuery code.
To connect and store our input values to the database that we have created, and write the following code in our form.php file :
PHP
<?php
$hostname = "us-cdbr-east-02.cleardb.com ";
$username = "bad816b66b485e";
$password = "7f49ef11";
$db = "heroku_db38da5d8dd34df";
$dbconnect=mysqli_connect($hostname,$username,$password,$db);
if($dbconnect->connect_error) {
die("Database connection failed: " . $dbconnect->connect_error);
}
if(isset($_POST)) {
$name=$_POST['name'];
$email=$_POST['email'];
$message=$_POST['message'];
$query = "INSERT INTO `form_submission` (`name`, `email`, `message`) VALUES ('{$name}', '{$email}', '{$message}')";
if (!mysqli_query($dbconnect, $query)) {
die('An error occured.');
} else {
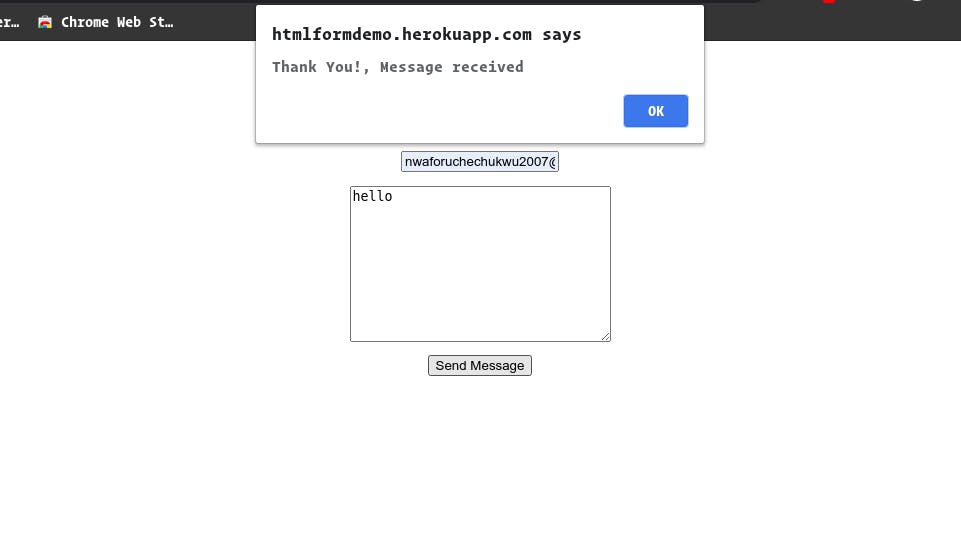
echo "Thank You! Message received";
}
}
?>
The $hostname, $username, $password, and $db values must correspond with that used to set up the database connection on the MySQL Workbench.
The $query inserts the name, email and message values to the table created (form_submission).
Left to using PHP alone, our form upon submission, redirects us to another page stating either a successful or an error message. Most times, we do not want any redirection and that is where are AJAX call comes in using jQuery in our case.
Remember we added the jQuery script tag to our html file which would enable our jQuery code work.
So in our custom js file, we write our jQuery code:
const name = $('#name');
const email = $('#email');
const message = $('#message');

$('#form').submit(function(e){
    e.preventDefault();
    $.ajax({
        type: 'POST',
        url: 'form.php',
        data: $('#form').serialize(),
        success: function() {
            alert('Thank You!, Message received')
        },
        error: function() {
            alert('Oops! an error occured')
        },
        complete:function(){
            $('#form').each(function(){
                this.reset();
            });
       }
    })
})
What this file does, is to hijack the PHP redirection and alert a success message if successful and an error message if otherwise.
The .serialize() function captures all the form input fields. After the form submission is complete, the form is reset.
Conclusion
And that's it, commit your file changes to your Github repository and you once you input your respective values, you should see them in the database table.
You should check your table and see your input details.
#DevBlogging